

No detours.
Even overnight.
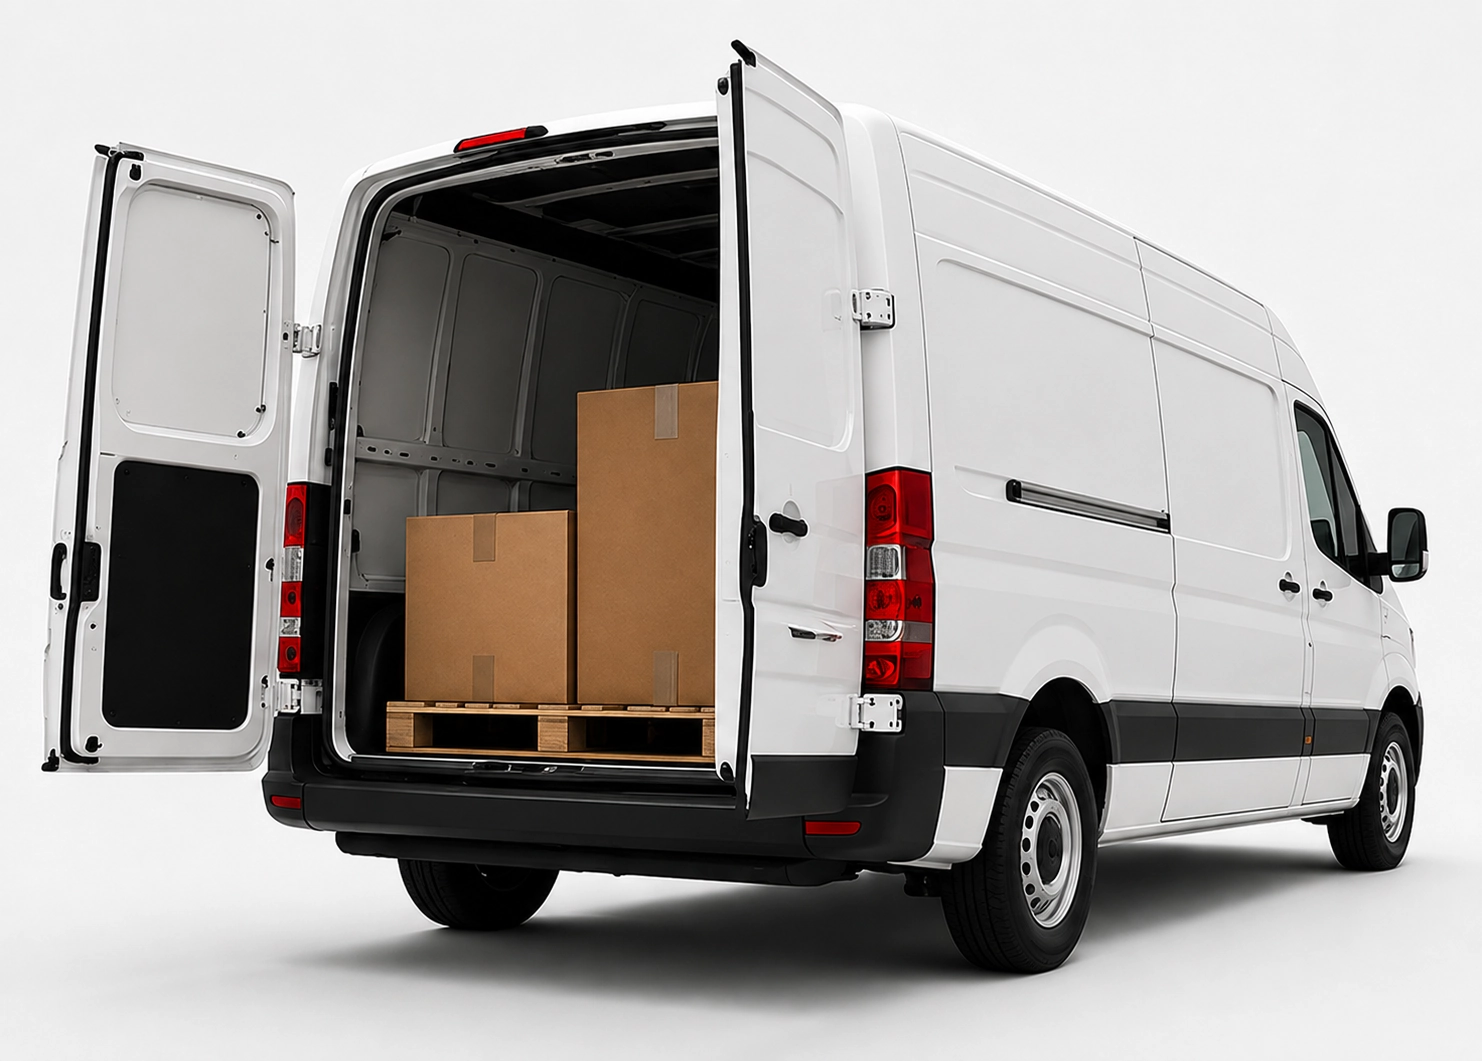
x25pronto Austria carries approved goods shipments by car, van or Van XL personally and without unnecessary transhipment. Direct and overnight trips can be booked Monday to Sunday – subject to availability in the booking calendar.
Packing guide for delicate small goods
Step-by-step materials, foam options, box sizes and photo-checks to pack delicate small goods for safe delivery by car.
Quick answer
To transport delicate small goods safely in a passenger car, use the right boxes, shock-absorbing foam and internal partitions. Pick a box that leaves 20–50 mm clearance, pad voids with foam or corrugated inserts, and fix moving parts with protective tape. Take photos of the packed item and add clear handling labels.
Why correct packing matters
Delicate small goods such as electronics accessories, measuring tools or fragile components are vulnerable to shocks and vibration. In a car, sudden braking and bumps create point loads. Proper packing reduces movement and absorbs impact. This lowers breakage and claims.
Basic kit: materials and tools
You need sturdy corrugated boxes (double-wall for sensitive items), foam types (PU, Ethafoam or polyethylene), bubble wrap, corrugated inserts, edge protectors, packing tape, labels and a tape measure. A utility knife, hot-glue gun and a camera for pack photos help daily work.
Box sizes and internal clearance
Choose a box that leaves about 20–50 mm space around the product. For very fragile items pick 30–50 mm. For multiple items plan fixed dividers. Typical reference sizes: Small (250x170x80 mm), Medium (350x250x120 mm), Large (450x320x180 mm). Adjust size to product and padding thickness.
Foam solutions: which type for which need
Polyethylene foam (EPE): lightweight with good cushioning for light electronics. Ethafoam (closed-cell): very impact-resistant for precise fits. PU foam (foam-in-place): molds to the item for single pieces. Edge protectors from foam or solid board protect corners. For series use templates or CNC; for singles use foam-in-place.
Step-by-step packing
1) Prepare a clean workspace and all materials. 2) Secure moving parts with tape. 3) Cut internal padding: measure and trim foam. 4) Place the item in foam and ensure 20–50 mm clearance. 5) Fill gaps with corrugated inserts, bubble wrap or foam chips. 6) Add a top cushion, close and tape the box. 7) Label handling instructions and take two photos: interior before closing and exterior with label.
Photos and documentation to reduce disputes
Always photograph the packed item inside and outside. Log material types and padding thickness in the packing record. These files help damage claims and improve processes. Use file names with order number and date.
Frequently asked questions
What padding thickness is best for fragile parts?
For very fragile parts use 30–50 mm clearance around the product. That equals about 20–40 mm foam plus 10 mm bubble wrap or corrugated layer.
When should I use foam-in-place?
Foam-in-place is best for single items or many variants. It conforms to the shape and reduces cutting work.
How do I document the packing process?
Take two photos (interior before closing, exterior with label), note material types, padding thickness and the box size with order number and date.
Which box if I ship several small parts?
Use fixed dividers and at least 20 mm padding space around each part. Choose a box so parts do not touch each other.